
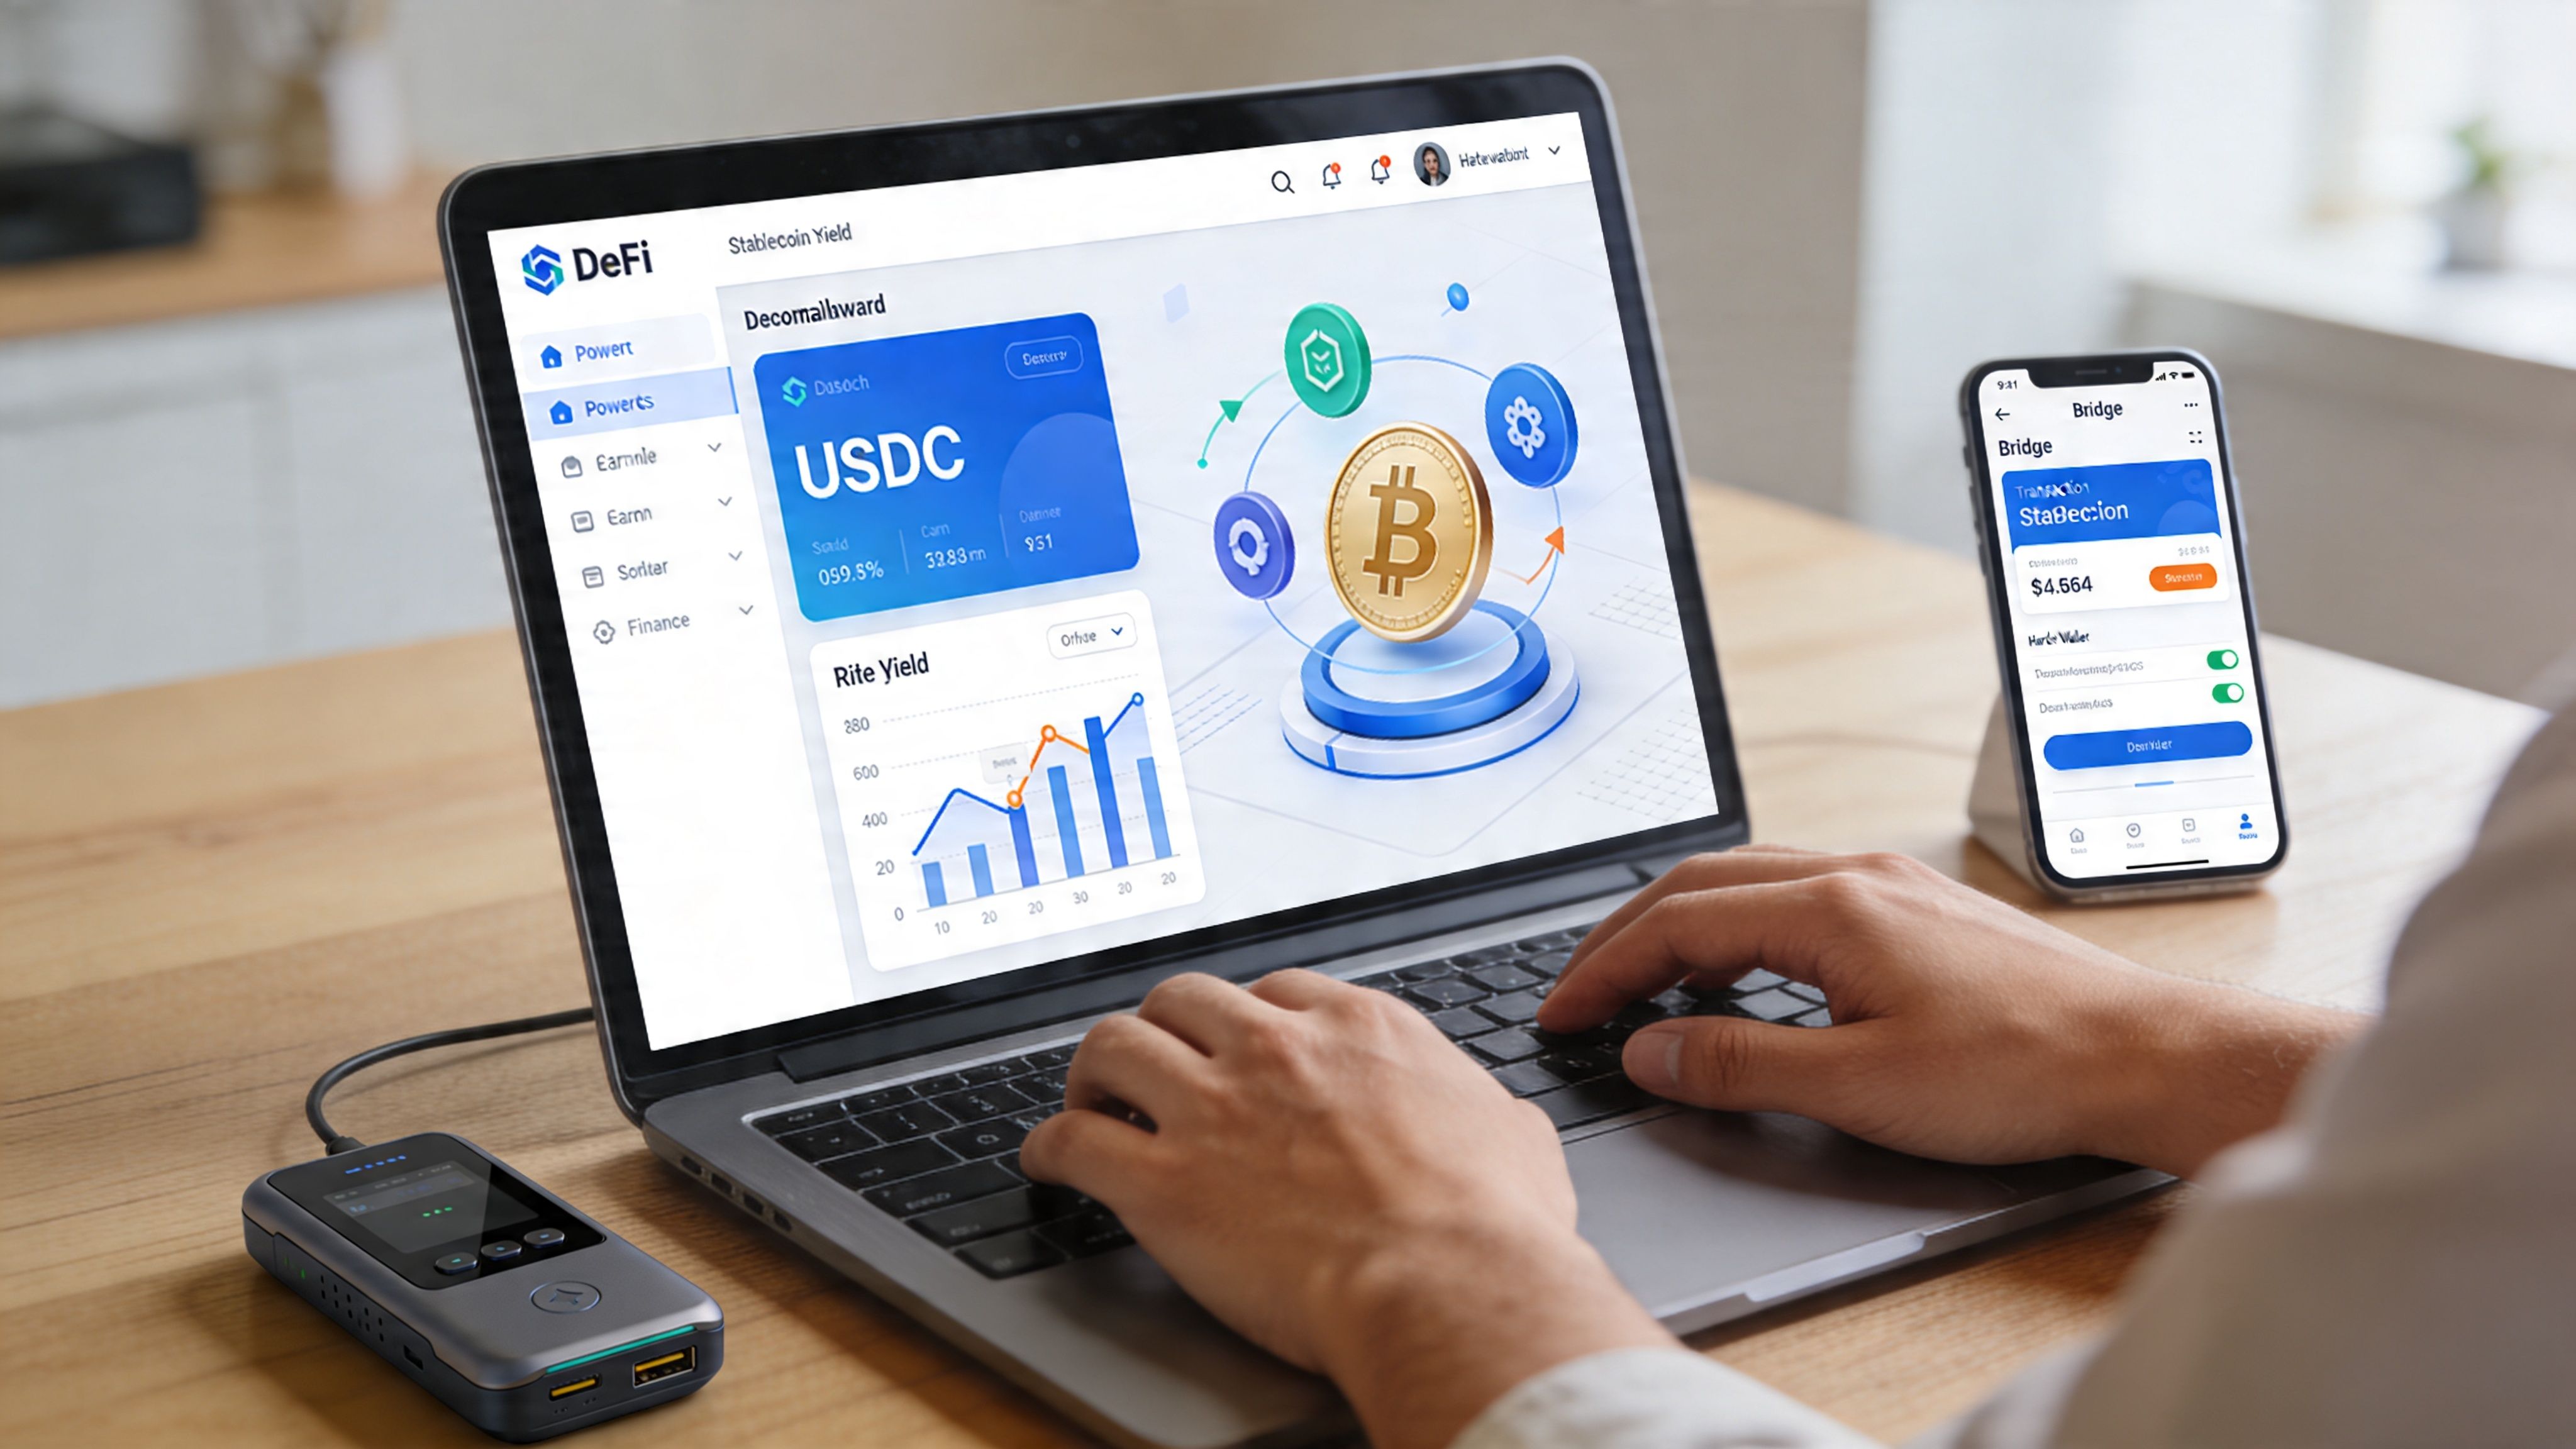
If you’re holding cash or stablecoins and doing nothing with them, you’re making a choice. You’re choosing convenience over yield.
That’s not irrational. A bank account is familiar. Leaving USDC in a wallet also feels safe because nothing is moving. But idle capital has a cost. In DeFi, you can put that same stablecoin balance to work, keep control of your funds, and stay liquid if you want to leave.
The practical question isn’t whether DeFi exists. It does, at real scale. The better question is how to use defi without getting sloppy on risk, fees, or tooling. That’s where most beginners get stuck. They either overcomplicate it and never start, or they chase yield screens and skip the boring checks that matter.
This guide takes the path that works. Start simple. Use low-cost networks. Learn where yield comes from. Make one clean deposit. Then decide whether you want to manage it manually or let automation handle the scanning and rebalancing.
Why Use DeFi When Your Bank Account Is Fine
A bank account is good at storage. It’s not built to expose you to open, on-chain money markets.
DeFi matters when you want your dollars, or dollar-denominated stablecoins, to do more than sit still. If you already hold USDC, you can lend it into on-chain protocols, earn from borrower demand, and withdraw when you want instead of waiting through fixed lockups that many traditional products impose.

The scale is no longer niche. DeFi protocols held $100.3 billion in total value locked as of February 25, 2025, which shows how much capital users have committed to on-chain lending, borrowing, trading, and staking across multiple blockchains, according to Statista’s DeFi market overview.
What makes DeFi useful
Three things pull people in:
Access: You don’t need a bank relationship to use a lending market. You need a wallet, assets, and a supported network.
Control: You interact from your own wallet rather than handing custody to an institution.
Composability: The same USDC can move through wallets, bridges, lending markets, and dashboards without asking for permission from each platform.
That last part is why DeFi feels different once you use it. The tools connect.
Practical rule: Don’t treat DeFi like a casino. Treat it like an open financial stack where each step should have a clear reason.
Why beginners should care
The simplest use case is also the most durable. You hold stablecoins and want yield without becoming a full-time trader.
That’s why lending and stablecoin strategies tend to be the cleanest starting point. They’re easier to reason about than speculative token plays. You can build a solid mental model fast, then deepen from there.
If you want a cleaner conceptual foundation before touching a wallet, this explainer on decentralized finance and how it works is a good companion.
Your DeFi Starter Kit for Earning Yield
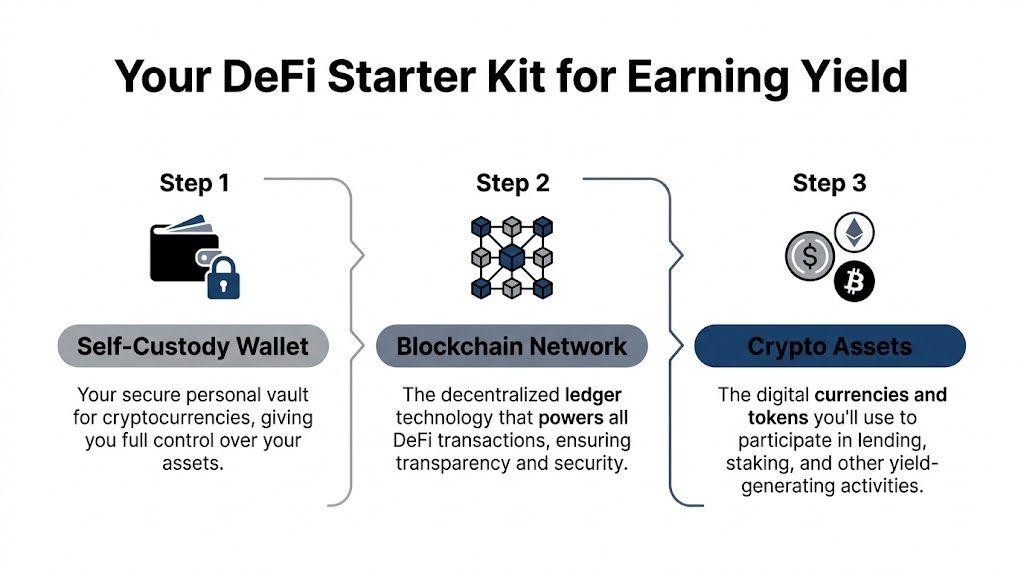
You don’t need a giant setup. You need a wallet, some stablecoins, and access to a low-cost chain.
Most mistakes happen before the first deposit. Someone stores their recovery phrase in the wrong place, bridges to the wrong network, or sends funds to an unsupported address. None of that is advanced DeFi. It’s basic operational hygiene.
Start with the wallet
Use a non-custodial wallet such as MetaMask or Rabby. Non-custodial means you control the keys.
Write the recovery phrase down offline and store it somewhere you’ll still be able to access later. Don’t leave it in a random notes app, cloud draft, or screenshot folder. If that phrase leaks, your funds can disappear. If you lose it, support can’t reset your account because there isn’t one.
A short refresher on what a DeFi wallet is and how it works helps if this is your first self-custody setup.
Move to a low-cost network
Ethereum mainnet is powerful, but it isn’t the place I’d send a beginner for a small first deposit. Fees change behavior. High fees make people delay transactions, overthink approvals, or batch too much at once.
A better starting point is a Layer 2 like Base. According to Cow.fi’s guide to getting started with DeFi, bridging stablecoins to a Layer 2 such as Base can reduce fees by 90% to 99% compared to Ethereum mainnet, with examples around $0.50 per transaction versus $10+ on Ethereum in more congested conditions. That’s why low-cost networks are where small accounts become practical for learning and earning. The walkthrough appears in Cow.fi’s DeFi guide.
The actual starter kit
Keep it minimal:
A funded wallet: ETH on the destination chain pays gas. Even stablecoin strategies need gas to approve, deposit, and withdraw.
Stablecoins: USDC is the common beginner choice because it’s straightforward to price and easier to reason about than volatile assets.
A bridge: Use an official bridge or a widely used route aggregator. Double-check the network before confirming.
One protocol to start: Don’t open five tabs and compare everything on day one.
What works and what doesn’t
What works is boring on purpose. One wallet. One network. One stablecoin. One protocol.
What doesn’t work is trying to optimize every basis point from the start. Beginners lose more from avoidable errors than from choosing a slightly lower yield.
Deposit a small amount first, confirm the wallet and network behave the way you expect, then scale up only after one full deposit and withdrawal cycle.
Where Your DeFi Yield Actually Comes From
Yield isn’t magic. If you can’t explain where it comes from, you shouldn’t deposit.
For beginners, the cleanest sources are lending markets and liquidity provision. They behave differently, and you should understand that difference before clicking anything.
Lending markets
Lending protocols are the easiest model to grasp. You deposit USDC into a pool. Borrowers take loans from that pool and pay interest. The protocol routes part of that borrower demand back to suppliers.
This is already a major part of DeFi. Lending protocols represented 43% of total DeFi TVL at $89 billion in 2025, and they remain a core entry point where users deposit stablecoins into liquidity pools and earn interest from borrower fees, often over 10% APY, according to SQ Magazine’s DeFi lending statistics.
That structure matters because it gives the yield an economic source. Someone is paying to access capital.
Liquidity pools
Liquidity provision is different. You deposit assets into an automated market maker such as Uniswap so traders can swap against the pool. In return, you earn fees from trading activity.
That can be attractive, but it adds another layer of complexity. If the paired assets move relative to each other, your position can drift away from simple buy-and-hold exposure. For a first DeFi experience, that’s usually more moving parts than you need.
Why stablecoin lending is the usual first move
A beginner asking how to use defi usually doesn’t need exotic strategies. They need a path they can audit mentally.
That’s why stablecoin lending tends to be the most practical entry point:
The asset is easier to track: USDC is easier to evaluate than a volatile token pair.
The activity is simple: You’re lending into a pool rather than managing a more complex LP position.
The dashboard is readable: Supply balance, earned interest, and withdrawal flow are usually clear.
If your first strategy needs a spreadsheet to explain it, it’s probably the wrong first strategy.
A Step-by-Step Guide to Your First Deposit
The best first move is a small deposit into a well-known lending market on a low-cost chain.
Use an amount you’re comfortable experimenting with. The point of the first transaction isn’t maximizing return. It’s learning the full lifecycle from wallet connection to deposit to withdrawal.
Step into the app slowly
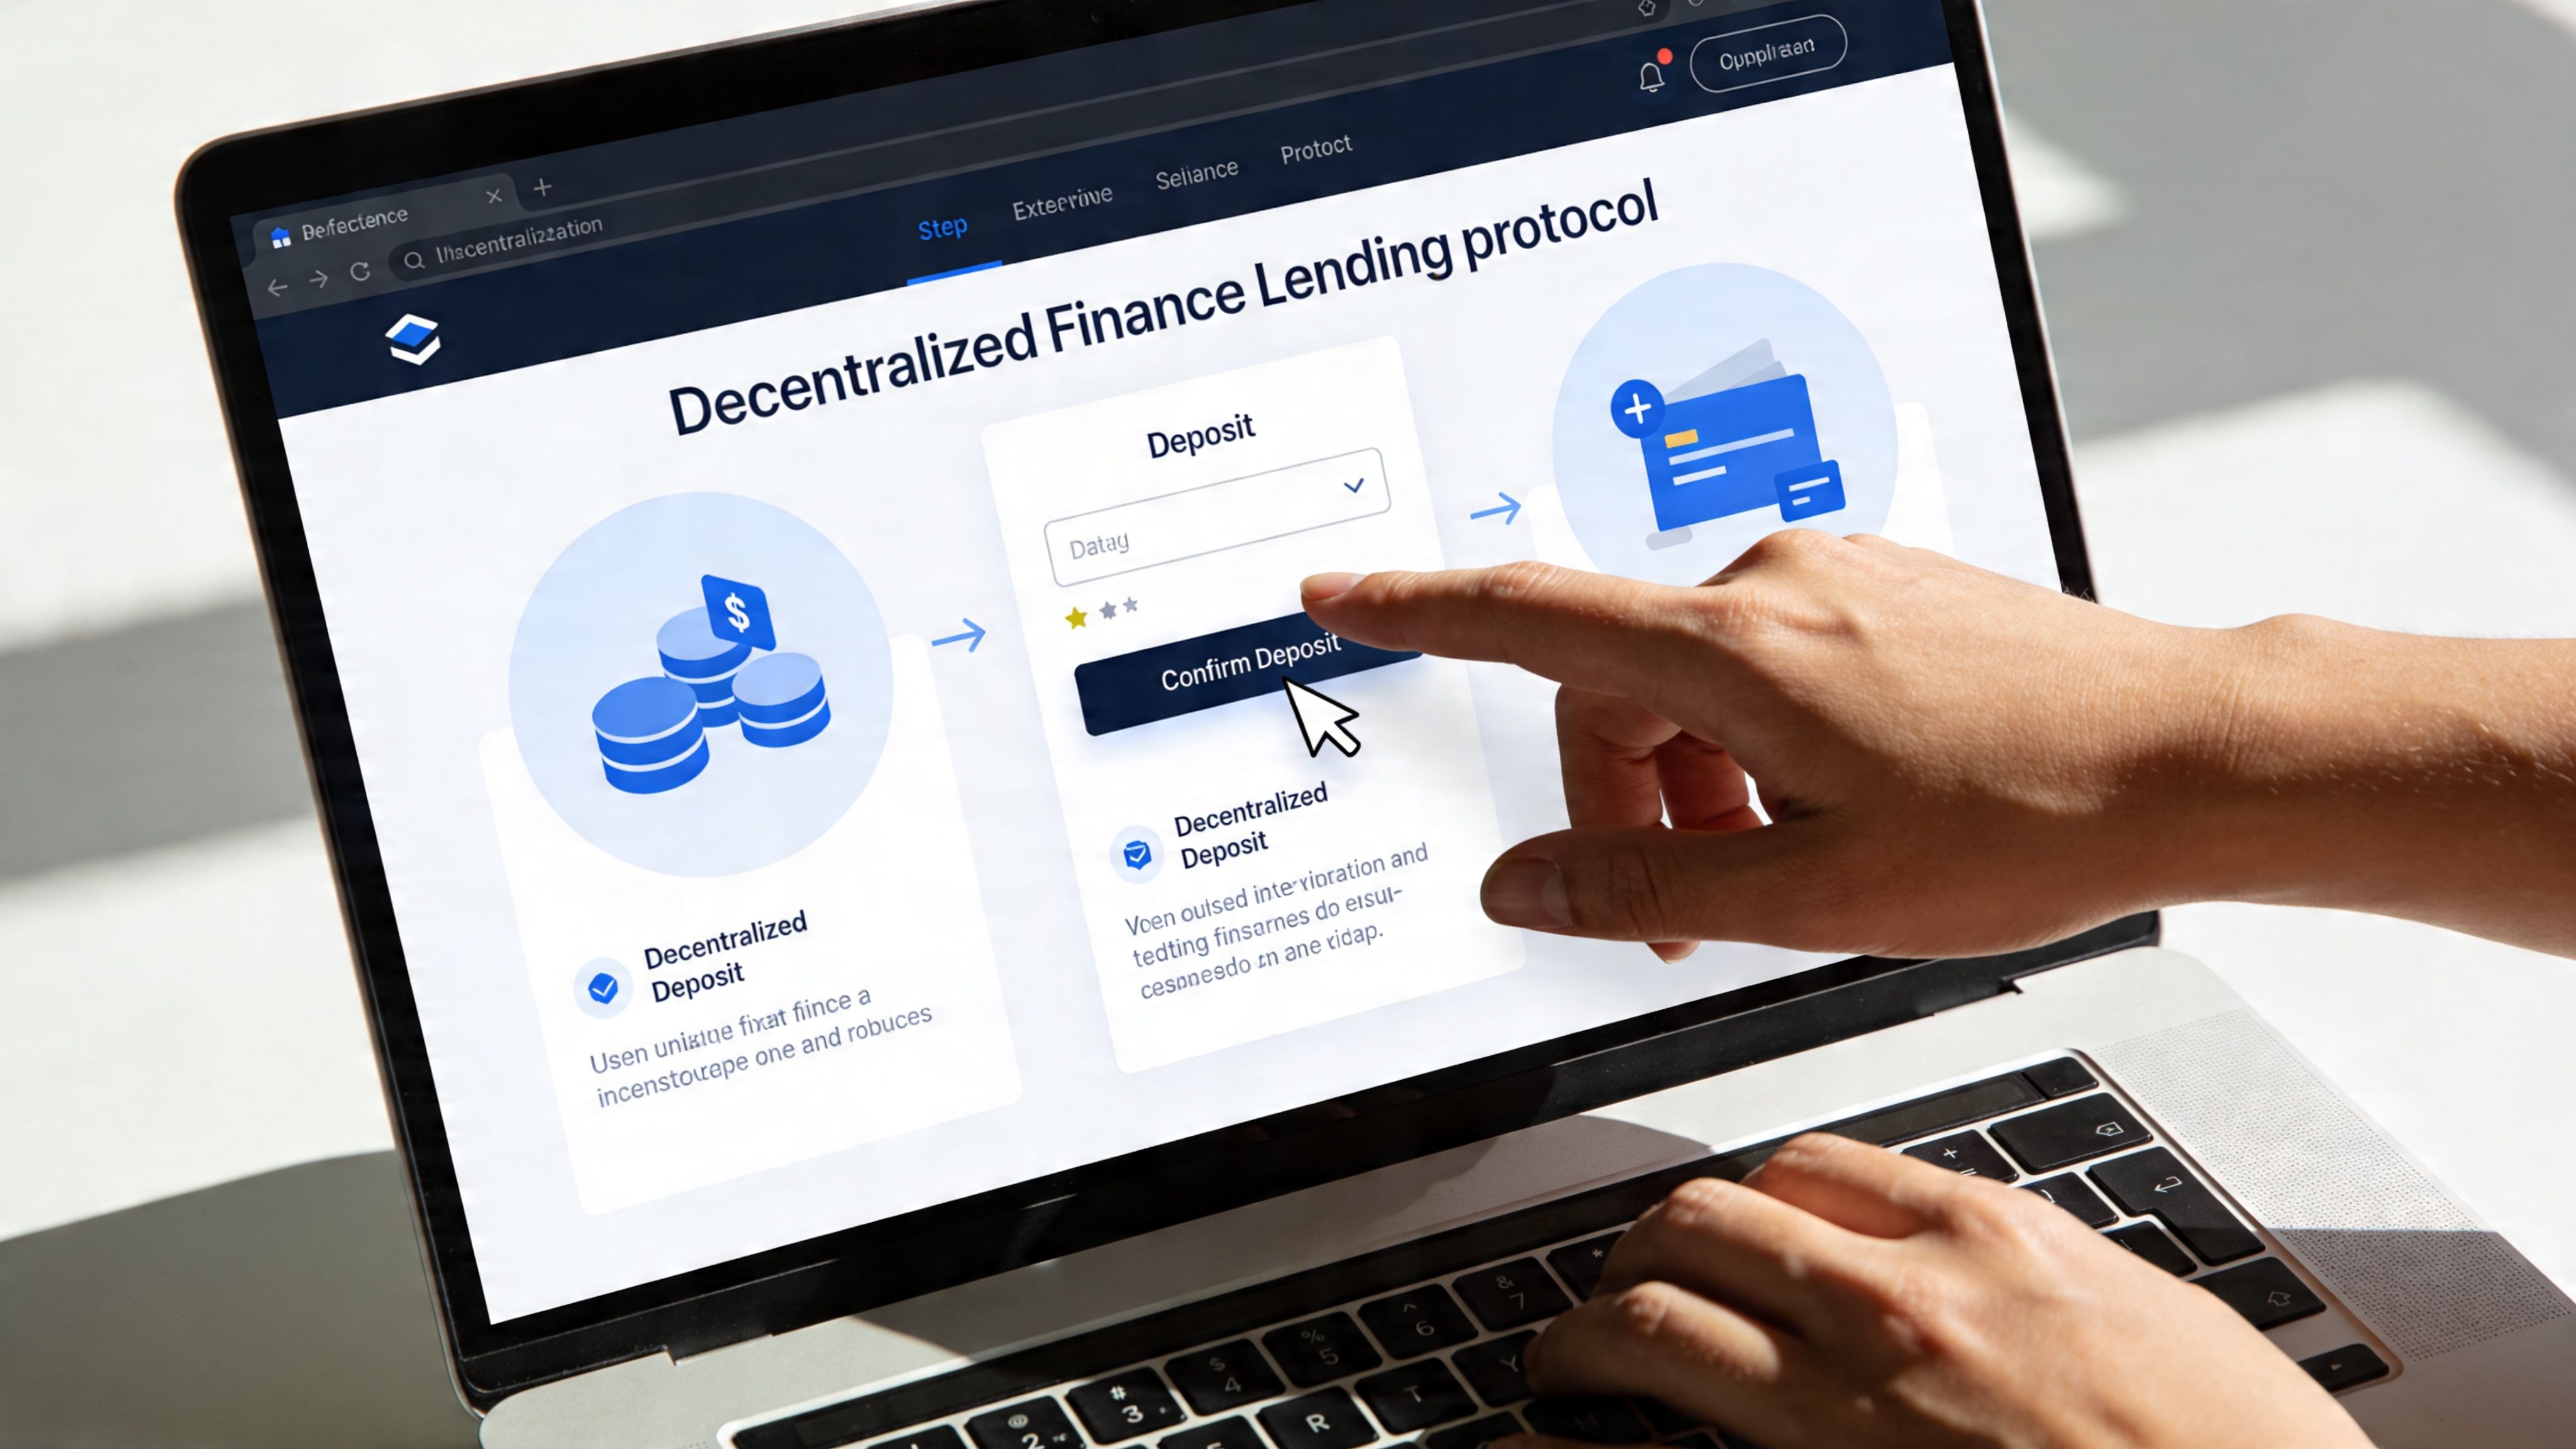
Open the lending protocol’s official site and confirm you’re on the correct network, such as Base.
Then connect your wallet. Most apps show a wallet button in the top corner. After connecting, you should see your wallet address and available balances. If the balance doesn’t appear, don’t improvise. Check that the asset is on the right chain.
Approve before you deposit
Most ERC-20 tokens need an approval before the protocol can interact with them. This is a separate transaction from the deposit itself.
Here’s what that means in plain English. You are not sending funds during approval. You are granting the smart contract permission to move a token up to an allowed amount. After that, the app can present the actual deposit transaction.
On screen, the flow usually looks like this:
Select the asset
Choose USDC from the supply list.
Enter the amount
Start small if this is your first interaction.
Click approve
Your wallet pops up. Review the network, token, and contract details.
Wait for confirmation
The blockchain records the approval.
Click supply or deposit
This triggers the actual transfer into the lending market.
Confirm again in wallet
This second signature is the one that moves funds.
What happens after deposit
Once confirmed, the app updates your supplied balance. Many lending protocols also issue an interest-bearing token representation in the background, though the user experience abstracts most of that away.
The useful thing to watch is simple:
Your wallet balance goes down
Your supplied balance in the protocol goes up
Your yield starts accruing according to current rates
If you want to see a visual walkthrough of the process before trying it yourself, this short demo helps ground the interface flow:
Gas, confirmations, and small frictions
Gas is just the network fee for recording your transaction. On a low-cost L2, that fee is usually manageable enough that a beginner can test the full workflow without feeling punished for learning.
The bigger source of friction is hesitation. You’ll see wallet prompts, contract addresses, and approval text that looks more intimidating than it is. Slow down and read. Don’t train yourself to click through blind confirmations.
Practice the exit too
A lot of newcomers deposit and stop there. That’s incomplete training.
Do one withdrawal, even if it’s partial. Click withdraw, choose the amount, confirm in your wallet, and verify the stablecoins return to your wallet balance. Once you’ve done both directions, the system stops feeling abstract.
That’s the moment one goes from “I think I understand DeFi” to understanding it.
How to Evaluate Protocols and Manage Risk
This is the part that separates users who last from users who learn through losses.
The hard truth is that many DeFi guides spend too much time on yield screens and not enough time on protocol selection. That’s backward. A strong APY on a weak protocol is not a good opportunity.
According to Yellow’s beginner guide, 40% of protocols have unaudited contracts, and 68% of new users report losses from exploits in user forums. That’s why protocol review isn’t optional. It’s one of the few habits that meaningfully changes outcomes, as noted in Yellow’s DeFi lending risk discussion.
What I look at first
I don’t start with yield. I start with survivability.
A useful quick screen looks like this:
Indicator | What to Look For | Red Flag |
|---|---|---|
Contract audits | Public audit reports linked from official docs or app pages | No audit information, vague claims, or dead links |
Protocol reputation | Long-standing brand recognition, active docs, clear product scope | Sudden hype, anonymous marketing-first launch |
App clarity | Clean deposit and withdrawal flow, understandable asset labels | Confusing UI, unclear token wrappers, hidden steps |
Risk model | Straightforward lending market with clear collateral rules | Complex loops or unclear strategy logic for beginners |
Official links | Verified app URL from the project’s official channels | Random aggregator pages or links from chat groups |
Liquidity and exit path | Obvious withdrawal route and supported network | Hard-to-exit positions or unusual redemption process |
The practical trade-offs
Audited doesn’t mean safe. Unaudited just means the burden on you is much higher.
Anonymous teams aren’t automatically bad either, but beginners usually don’t need that extra uncertainty. Established protocols with clear docs, predictable interfaces, and broad user familiarity are easier to use well.
Most losses start before the exploit. They start when a user decides not to verify the contract, the URL, or the withdrawal path.
A simple risk posture for your first months
Use constraints to protect yourself:
Keep your first strategy narrow: Stablecoin lending is easier to monitor than a multi-step farm.
Avoid chasing the highest displayed yield: Big numbers often hide more moving parts.
Test deposits and withdrawals early: Liquidity and UX matter as much as APY.
Review approvals occasionally: If you stop using an app, clean up old token permissions.
If a protocol needs a long thread to explain why the risk is worth it, skip it until you’ve built more context.
The Future of Yield: Automating with AI Agents
Manual DeFi works. It just doesn’t scale well for normal people with jobs, messages, and limited attention.
Once you’ve used DeFi for a bit, the weak point becomes obvious. Opportunity is fragmented. Rates move. Networks differ. Dashboards pile up. The strategy that looked good on Monday might not be the one you want by Friday. If you insist on doing everything by hand, you either spend real time monitoring it or you accept drift.
That’s why automation is becoming part of the modern workflow instead of a niche add-on.
Why manual yield management breaks down
Individuals don’t struggle with making one deposit. They struggle with maintaining a process.
Manual management usually fails in familiar ways:
You stop checking rates: Life gets busy, so your capital sits where you first placed it.
You miss safer alternatives: A protocol remains “good enough,” even when another venue offers a better risk-reward profile.
You overreact: Constant tab-watching leads to unnecessary moves and more operational error.
Recent reporting cited by Scand says AI agents on Base boosted yields by 28% via real-time allocation, and automated platforms saw $500M in TVL growth. The bigger point isn’t the headline number. It’s that automated monitoring and allocation address a real gap that manual DeFi leaves open. That discussion appears in Scand’s guide to DeFi platform strategy.
What an AI agent actually does
An AI agent for stablecoin yield shouldn’t feel mystical. It should feel operational.
At a basic level, the system watches markets, compares available venues, and helps allocate capital across protocols based on the strategy rules you choose or accept. If you want a non-technical primer on understanding the core concepts of automation, that framework is useful because it explains why repetitive monitoring tasks are a strong fit for software.
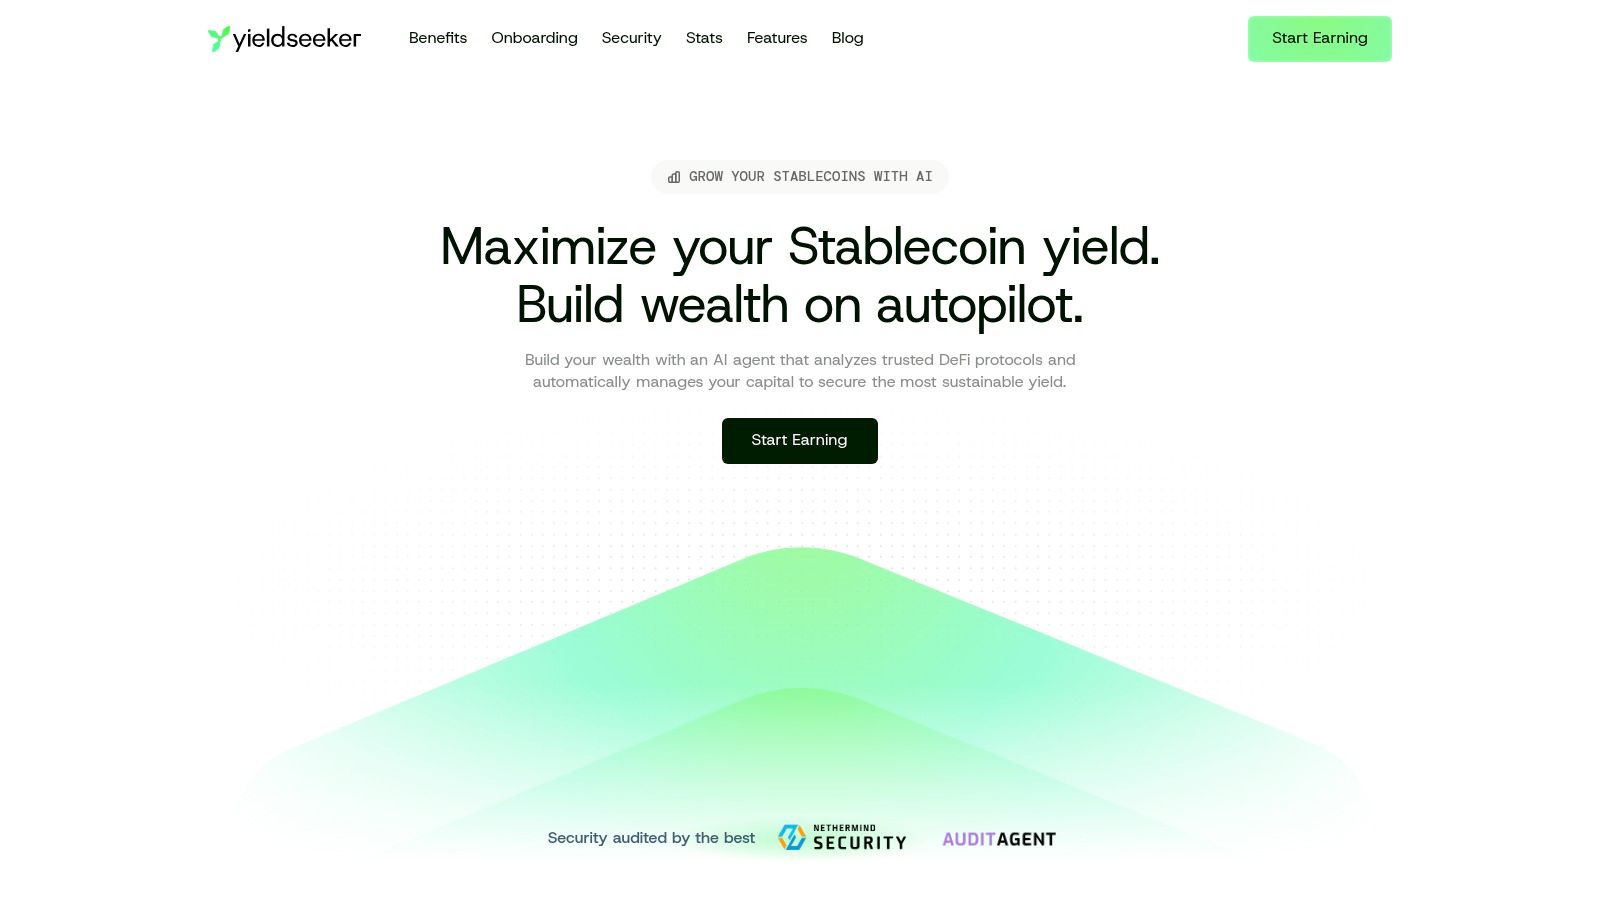
A platform like Yield Seeker fits this model. It lets users deposit as little as $10 USDC on Base, then uses an AI agent to monitor and allocate across DeFi protocols in real time while keeping funds accessible without lockups or withdrawal fees. If you want to see how these systems are being used in practice, this overview on using AI agents for DeFi workflows is a practical next read.
What automation is good at, and what it isn’t
Automation is good at the work humans are inconsistent at. Monitoring. Comparing. Rebalancing. Staying awake.
It is not a substitute for judgment. You still need to understand the basic strategy, know what assets you hold, and choose whether the convenience is worth giving strategy execution to software. Good automation reduces friction. It doesn’t erase risk.
The strongest reason to automate isn’t laziness. It’s consistency.
Your Next Steps in Decentralized Finance
The clean path into DeFi is simple. Use a self-custody wallet. Move stablecoins onto a low-cost network. Make one careful deposit into a lending protocol you understand. Then learn the exit path before you scale.
That’s enough to stop DeFi from feeling theoretical.
After that, the game changes. It becomes less about whether you can use the tools and more about how much time you want to spend managing them. Some people are happy running a manual setup. Others want software to monitor fragmented markets and handle more of the repetitive work.
Keep the standards high. Start small. Verify links. Read wallet prompts. Don’t deposit into anything you can’t explain in one or two sentences.
If you do that, your first yield strategy doesn’t need to be complicated. It just needs to be sound.
If you want a lower-friction way to put stablecoins to work, Yield Seeker offers an AI-powered workflow for earning on USDC on Base without manually hunting protocols across multiple dashboards. It’s a practical option for people who want to stay liquid, start small, and keep learning while automation handles more of the monitoring.