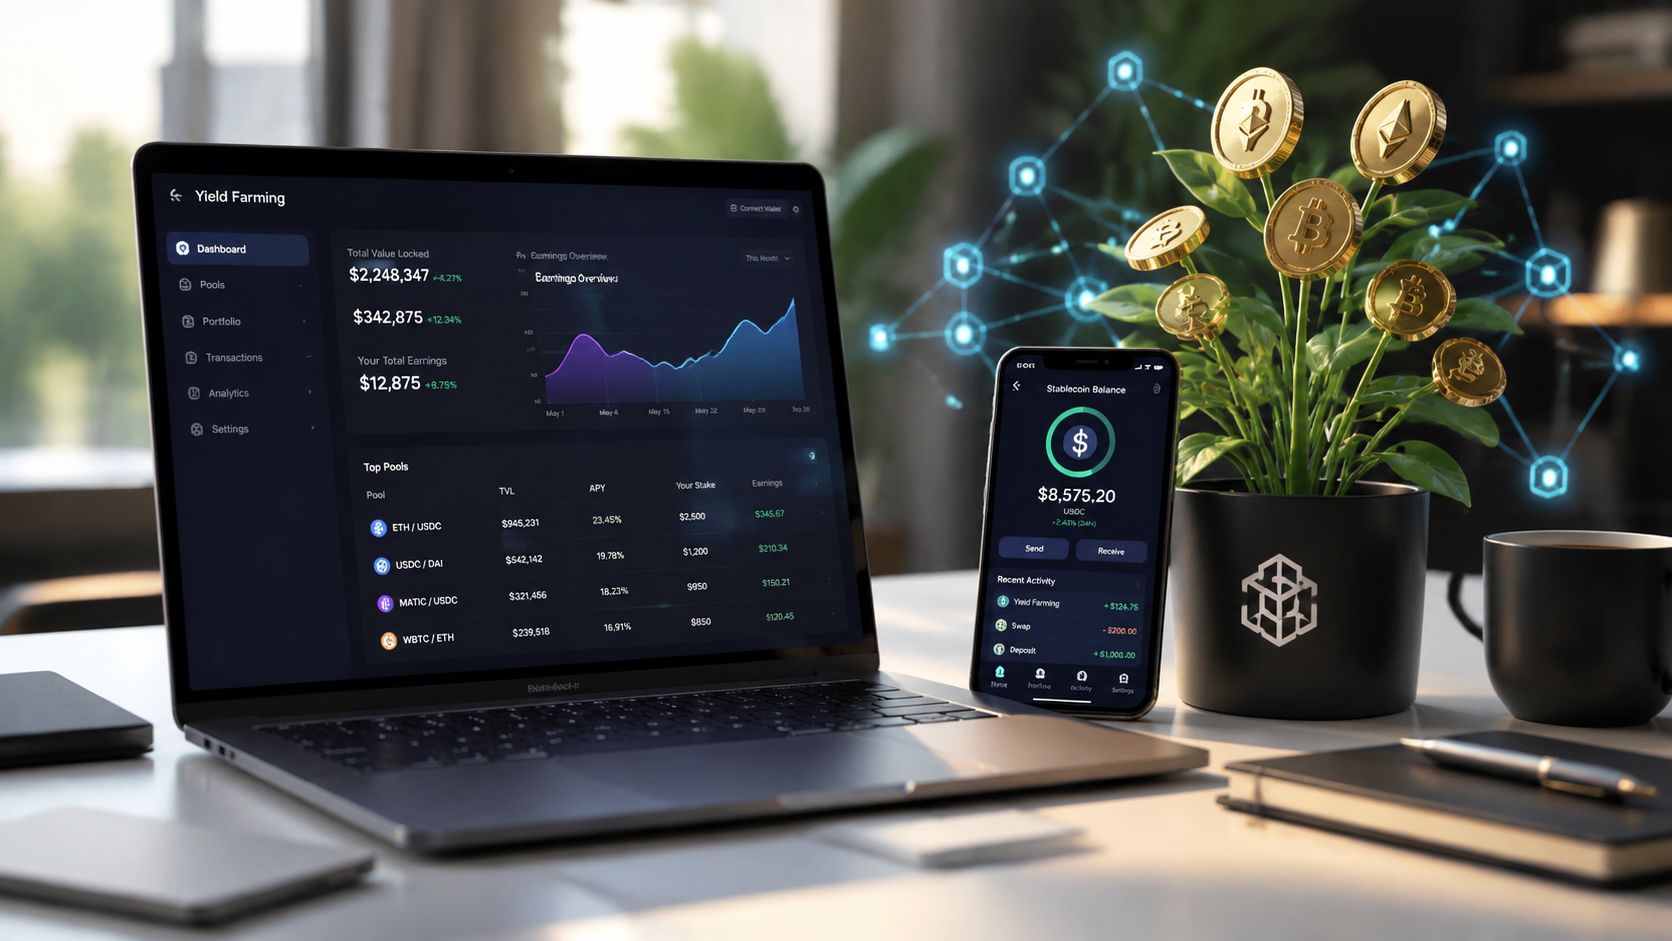
You've probably seen it happen. Someone opens a DeFi app, spots a pool with a flashy APY, deposits their stablecoins, and assumes the hard part is done. A few days later, they realize gas ate more than expected, the reward token moved against them, and the position needs active attention. That's the starting line for how to start yield farming in 2026, not the first wallet connection.
The smart approach treats yield farming as a risk-adjusted decision problem. Choose the chain, choose the asset, choose the protocol, then decide how much risk you want to carry. That order matters because yield isn't a single number, it's the result of fees, volatility, liquidity depth, and how often you're willing to monitor and rebalance.
Yield farming grew up during DeFi's 2020 to 2021 expansion, when CoinGecko reported DeFi TVL rising from over $9 billion in September 2020 to $86 billion at a later 2021 peak and a UCL survey found yield aggregators moving from below $1 billion at the start of 2021 to $8 billion by May 2021. In that same early market, CoinGecko found only 23% of respondents had participated in yield farming in the prior 60 days and 52% of farmers were using less than $1,000 in capital, which tells you this category was built around smaller users as much as big capital (CoinGecko). The playbook that survived that era is still the one that works now, deposit assets, earn rewards, and watch fees closely.
By the end of this guide, you should be able to size a position, check protocol risk signals, decide when a pool is too fee-heavy to bother with, and know when automation is cheaper than hand-holding the position yourself.
Why Most Beginners Get Started the Wrong Way
The most common beginner mistake is simple. Someone sees a stablecoin pool with a big headline return, connects a wallet, and deposits before asking whether the chain is cheap enough, whether the pool is deep enough, or whether the reward token is stable enough to matter. That approach confuses advertised APY with actual net yield, and those are not the same thing.
A better sequence is boring on purpose. Pick the chain first, because that determines gas and available venues. Pick the asset second, because stablecoins, ETH pairs, and more exotic tokens have very different risk profiles. Pick the protocol third, because audits, TVL, and reputation matter more than a promo banner. Only then should you size the position according to your risk budget.
The five decisions that matter
Practical rule: if you can't explain why a pool is worth more after fees than before fees, you're not ready to deposit.
The five decisions are chain, asset, protocol, size, and exit plan. Each one filters out a different kind of bad trade. The chain determines how expensive it is to move, approve, deposit, and rebalance. The asset determines whether your return is exposed to a stablecoin peg, a volatile token, or a reward token that can drift fast. The protocol determines whether you're trusting a mature venue or a thin one. The size and exit plan determine whether the position can survive normal fee drag and still be worth your time.
A practical beginner should also think in loops, not one-off actions. Yield farming is rarely a “set and forget” move, because deposits often need later rebalancing and every extra action has a cost. That matters even more for smaller positions, where gas and slippage can matter more than the protocol's advertised yield.
If you keep only one idea from this section, keep this one. Start with net yield, not APY.
What You Need Before You Deposit a Single Dollar
Before you touch a pool, get the basics right. The wallet has to be self-custodial, because farming only works when you control the keys. The wallet also needs enough native gas token to handle approvals, deposits, and later withdrawals, because an empty gas balance turns a position into a stranded asset. Beginner guides for yield farming consistently recommend funding the wallet with both the target asset and gas, then choosing a protocol with visible audits, TVL, and community reputation (Changelly).
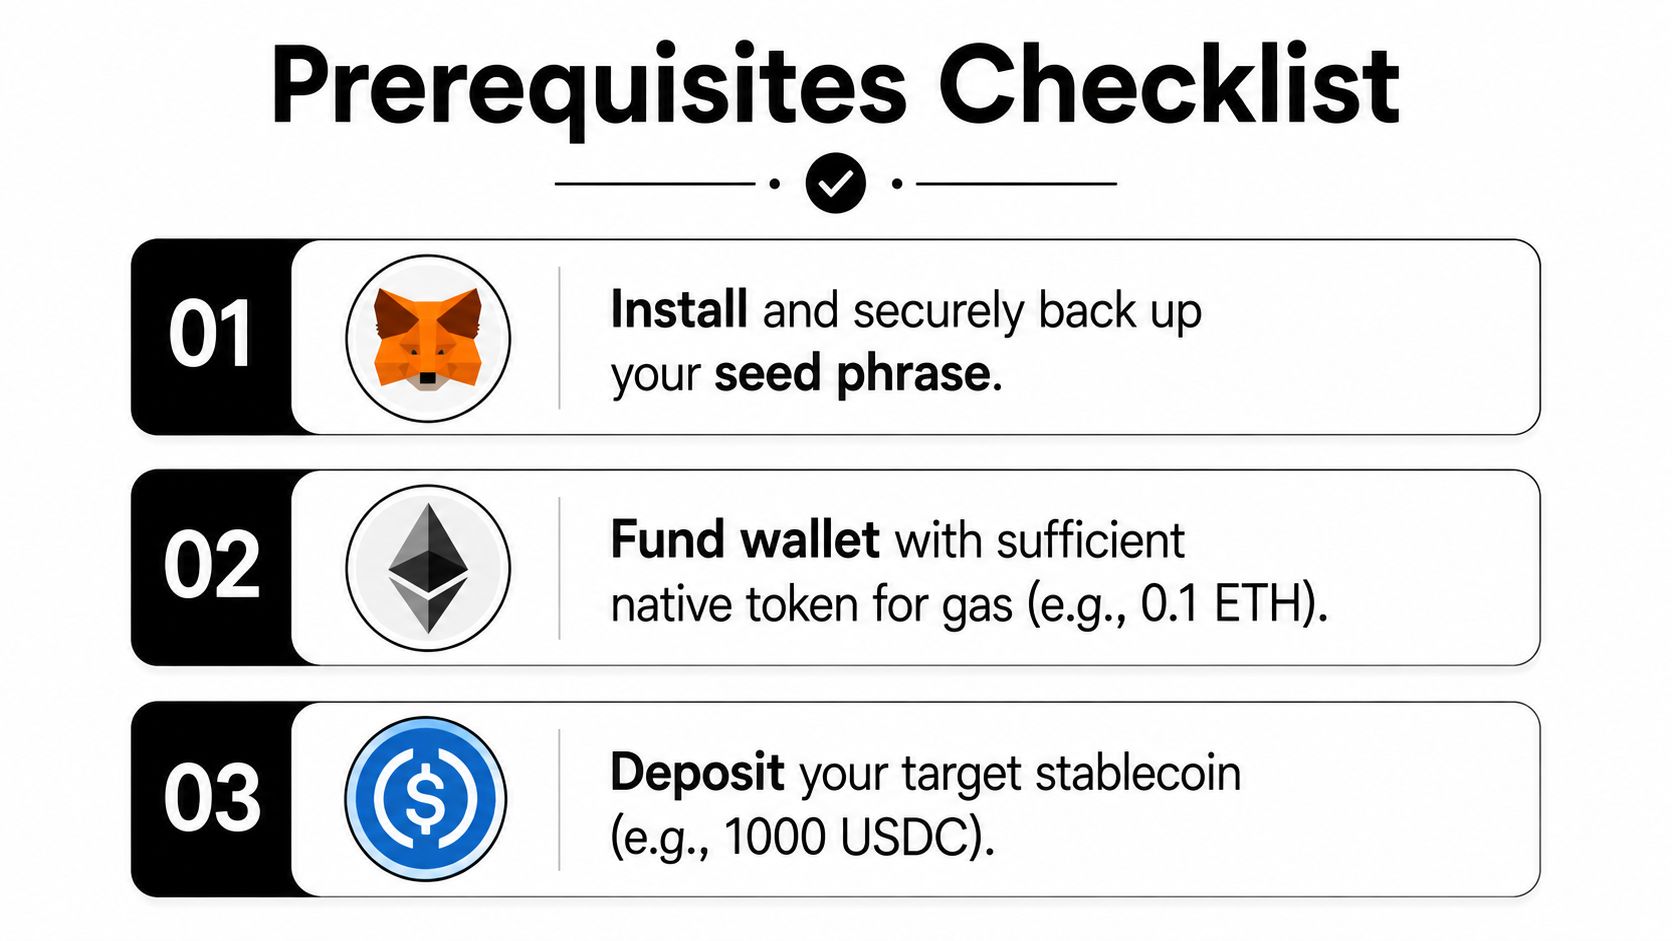
A hardware wallet makes sense when the position is large enough that a phishing mistake would be painful. A hot wallet can be fine for a small test allocation, as long as you treat it as an operational wallet, not a savings vault. Seed phrase hygiene matters more than many admit, because the best yield in the world won't matter if the keys are compromised.
Prepare the wallet and the mindset
Start with the wallet setup guide at What Is a DeFi Wallet if you need a clean refresher on custody basics. Then check your own risk tolerance. Decide how long you're willing to leave capital in a position, how much drawdown you can tolerate without panic-selling, and whether the reward token itself is something you'd want to hold if farming incentives disappeared.
Don't farm a token you wouldn't buy on purpose.
That mindset check matters because reward yield can hide token-price risk. A pool that pays out in a volatile incentive token can look attractive on paper and still leave you worse off if the token weakens. For that reason, many beginners do better starting with assets they already own rather than buying extra tokens just to farm. Buying in just to chase yield adds trading cost and slippage before the position even begins to work.
If you want a simple readiness test, ask three questions. Can I sign the transaction safely? Can I pay for gas twice, once to enter and once to exit? Can I live with the position if the reward token falls? If the answer to any of those is no, wait.
Picking a Chain and Stablecoin With Eyes Open
Chain choice changes the math more than most beginners expect. On the low-friction side, Base, Arbitrum, and Optimism tend to be easier for small positions because transaction costs are usually more tolerable than on Ethereum mainnet. On the deeper-liquidity side, Ethereum mainnet still has the broadest mature DeFi surface, but it can punish small deposits when gas is high. That's why beginners should look at chain choice as a cost-and-access problem, not a loyalty decision. For a Base-specific primer, the Base chain guide is useful background if you're comparing where to begin.
Stablecoin choice matters just as much. USDC is common in yield strategies because it's widely supported and easy to route across protocols. USDT can also offer broad access, but issuer and redemption dynamics deserve attention. DAI has a different design history and can be useful in some venues, but it's not a magic safety token. The right question is not “which stablecoin is best,” it's “which stablecoin gives me the cleanest combination of access, depth, and risk for this specific pool.”
Stablecoin yield farming chain and asset trade-offs | Typical gas cost | Yield depth | Key risk to watch |
|---|---|---|---|
Ethereum mainnet | Higher | Deepest mature venues | Fees can overwhelm small deposits |
Base | Lower | Growing quickly | Venue depth may vary by protocol |
Arbitrum | Lower to moderate | Broad DeFi access | Pool selection still matters |
Optimism | Lower to moderate | Solid but selective | Incentives can change fast |
USDC | Varies by chain | Strong | Issuer and protocol exposure |
USDT | Varies by chain | Strong | Issuer and routing risk |
DAI | Varies by chain | Selective | Structure differs by venue |
The practical rule is this. If you're starting with a small-to-mid position, choose the chain that leaves enough room for both the deposit and the exit. Then choose the stablecoin that gives you the most straightforward route into a protocol with real liquidity, not just a high number on a marketing page. If you're farming on a chain where the gas bill is nearly as important as the reward, the strategy has to be conservative enough to survive that drag.
The Actual Deposit Loop Step by Step
Once the wallet, chain, and asset are set, the process becomes mechanical. Connect the wallet, review the pool, approve the asset, deposit, and then verify the receipt token or staking position on both the protocol dashboard and a block explorer. This is the part where beginners often stop too early, because they assume the confirmation screen means the job is finished. It doesn't.
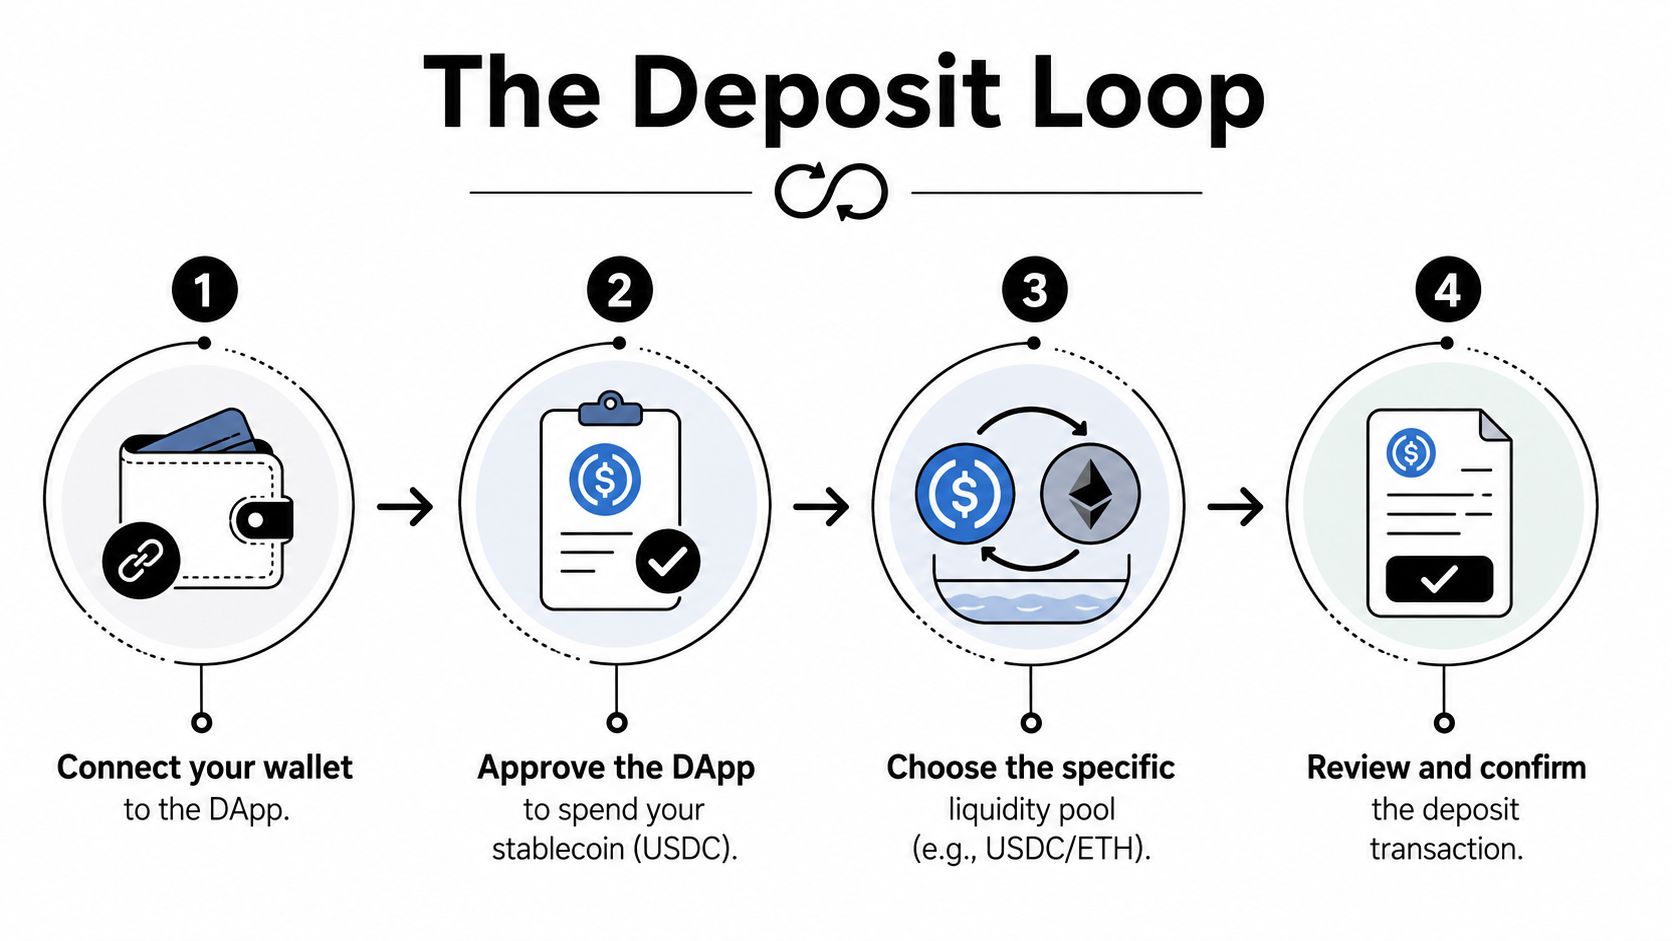
The approval step deserves attention. A spending approval gives the protocol permission to move your tokens, so you want to know exactly what you approved and whether the allowance is broader than necessary. Then the deposit transaction mints the LP token or credits the staking receipt. After that, check the position immediately, because a failed routing path, a bad wrapper, or a wrong token pair can still leave you with a position that isn't where you thought it was.
Deposit, verify, and then plan for the next action
A mature farming loop doesn't end at deposit. You need to decide whether the position will be auto-compounded or manually compounded, because each compounding action is another on-chain transaction. That means each rebalance has a cost, and a small farm can get eaten by the very act of trying to make it grow.
The trade-off is never “do I compound.” It's “does the extra yield justify the extra transaction.”
That's especially true for positions that already look thin on edge. If rewards are modest and gas is expensive, the compounding cadence has to be slower or automated. If the protocol changes incentives quickly, you need a clear trigger for exit or rebalance. The deposit loop is really a monitor loop, and the successful farmer watches the position the way a trader watches a live order.
For small deposits, manual control is usually fine at first. For multiple pools or fast-moving incentives, manual work turns into a tax on attention. The moment you find yourself checking dashboards just to avoid forgetting a position, you've already crossed into operational overhead.
The Risks Beginners Quietly Underestimate
A position can look attractive on paper and still be a poor trade once the actual costs hit. The useful question is how much of the headline return survives impermanent loss, reward-token volatility, and gas. A major academic study on 219 yield farms reported an average return of 147.7% and a median of 193.16% during its sample period, with farms lasting about 129 days on average. It also found that farm yields were the main contributor to performance while average annualized daily impermanent loss was -41.08% (HKBU study). Those figures make the trade-off plain. Gross yield can look strong while the net result falls apart fast.

Fees and price movement do the real damage
Concentrated liquidity adds another layer of risk. In Uniswap v3-style positions, the range matters. If price moves outside the band, the LP stops earning fees, so a position that looked active can turn inert. One common industry rule of thumb is to deploy equal-dollar amounts and set a price range of roughly ±25% around the current price, then monitor for breaches because the position loses fee generation once the market leaves the band (BlockLR guide).
Gas creates its own problem. A 2023 empirical study of Curve and Uniswap found average transaction costs of about $25 on Curve, average rewards around 3%, and favorable days that could exceed 20% (HKBU study). That spread explains why a position can make sense on one day and be a waste of time on the next. If the reward is small and the fee is fixed, frequent compounding can leave you worse off than doing nothing.
Leverage and smart contract risk add a second trap
Debt-based farming raises the stakes further. If you layer borrowings on top of liquidity provision, you need a liquidation point before you deploy, not after the market moves against you. Good execution means simulating the position, defining the exit plan, and assuming the first clean exit window is the one that matters most. Small positions are especially exposed to repeated transaction costs, because compounding loses force when every action has to pay tolls.
Protocol risk sits underneath all of it. Smart contract audits and TVL help, but they do not remove exploit risk. For beginners, the practical lesson is to avoid confusing a reward schedule with safety. If the position depends on the token staying stable, the pool staying in range, and the contract staying intact, you are carrying three different risks at once.
For sizing, monitoring, and exit rules, a workflow like Yield Seeker's AI agent execution playbook can handle the repetitive checks without turning the position into a full-time job. The same logic applies to banks vs ai agents spending, where execution systems matter because they reduce manual drift and keep decisions tied to the actual economics of the position.
Building a Risk-Adjusted Strategy and When AI Agents Take Over
A small pool that looks attractive on paper can be a bad trade once gas, slippage, impermanent loss, and reward-token drift are included. Start by converting the advertised APY into net yield after gas, impermanent loss, and reward-token volatility, then compare that number against the time you will spend watching the position. A weaker-looking pool can come out ahead if it pays more in durable fees and costs less to maintain. A stronger headline rate can collapse once transaction costs and incentive-token weakness are priced in.
The Curve and Uniswap examples make that trade-off easier to see. A stablecoin-focused position can carry average transaction costs around $25 on Curve and average rewards around 3%, which means a small deposit may spend too much of its return on upkeep. On a better day, the yield can exceed 20%, but that still does not mean the position will hold that level long enough to matter (HKBU study). The question is not which APY looks larger. The question is which strategy leaves more after every cost is counted.
A workable decision rule
Use a simple ranking process.
Step one: subtract expected gas from the reward stream.
Step two: discount the reward token if it is not a stable asset.
Step three: account for range risk or impermanent loss.
Step four: compare the result with the amount of time you will spend monitoring it.
Step five: exit when the net edge disappears.
That is the point where automation starts to earn its keep. One small position is still manageable by hand. Multiple pools, different chains, and changing incentives create constant friction, and that friction can cost more than the extra yield is worth. AI agents stop looking like a gimmick when they act as an execution layer that keeps the position aligned with the actual economics.
A useful outside reference on automated agents and capital allocation is this banks vs ai agents spending, which explains why software-driven decision layers are becoming normal in finance. In DeFi, the same logic applies at a smaller scale. A personal agent can watch protocol changes, track reward shifts, and rebalance without forcing the user to sit in front of dashboards all day.
Yield Seeker is one example of that setup. For a practical walkthrough, see how to use AI agents with Yield Seeker. It lets users deposit stablecoins, then uses a personal AI agent to monitor DeFi protocols and allocate across opportunities while funds remain accessible, with no lockups or withdrawal fees. For a small position, that matters because the user is not forced to choose between micromanaging a pool and ignoring it.
What a small position can look like
A $500 USDC starting position usually calls for restraint. Keep the first allocation in a stablecoin strategy with straightforward access, let the agent watch for better opportunities, and avoid adding debt just to push for a larger number. If the spread between pools narrows or gas makes reallocation pointless, the position should stay where it is. If the edge changes, the agent can rebalance without turning the user into a full-time farm operator.
The practical test is simple. If you would rather not open three dashboards every day, automation is probably cheaper than your time.
Your First Week Checklist and Quick Troubleshooting
Your first seven days should be about verification, not aggression. Confirm the position appears on-chain, confirm the protocol dashboard matches what the chain shows, and write down the exact pool, chain, and reward asset you used. Set one personal rebalance trigger, such as a range breach, a reward drop, or a gas spike that makes movement irrational.
A short checklist keeps you from improvising under pressure.
Day 1: confirm the deposit and receipt token.
Day 2: review whether the position is earning as expected.
Day 3: check whether the reward token is still the right asset to hold.
Day 4: note gas conditions before considering any adjustment.
Day 5: compare the position's net return against the time you spent monitoring it.
Day 6: decide whether the position still deserves manual attention.
Day 7: document whether you'd repeat the trade.
Common mistakes are predictable. Beginners approve unlimited spending without checking the allowance. They deposit during a reward-token spike and mistake temporary excitement for durable yield. They ignore gas at peak times. They keep farming after the incentive drops hard, even when the net edge is gone. Those errors don't come from bad luck. They come from skipping the risk check.
Start small, document every step, and don't confuse activity with progress. If the position starts to feel like a second job, let an AI-managed layer handle the monitoring and reallocation before the farm becomes a chore.
If you want a cleaner way to keep stablecoin yield from turning into dashboard fatigue, try Yield Seeker. It gives you an AI agent that monitors DeFi opportunities, allocates across protocols, and keeps funds accessible, which fits the exact problems beginners run into after the first deposit.